Understanding Low-Fidelity vs. High-Fidelity Prototypes: Best Use Cases Explained
Introduction
In the world of UX/UI design, prototyping plays a crucial role in the development process. Prototypes allow designers to test and validate their ideas before investing time and resources into full-scale development. However, not all prototypes are created equal. In this blog, we'll delve into the differences between low-fidelity and high-fidelity prototypes, and when to use each to maximize efficiency and effectiveness in your design process.
What Are Low-Fidelity Prototypes?

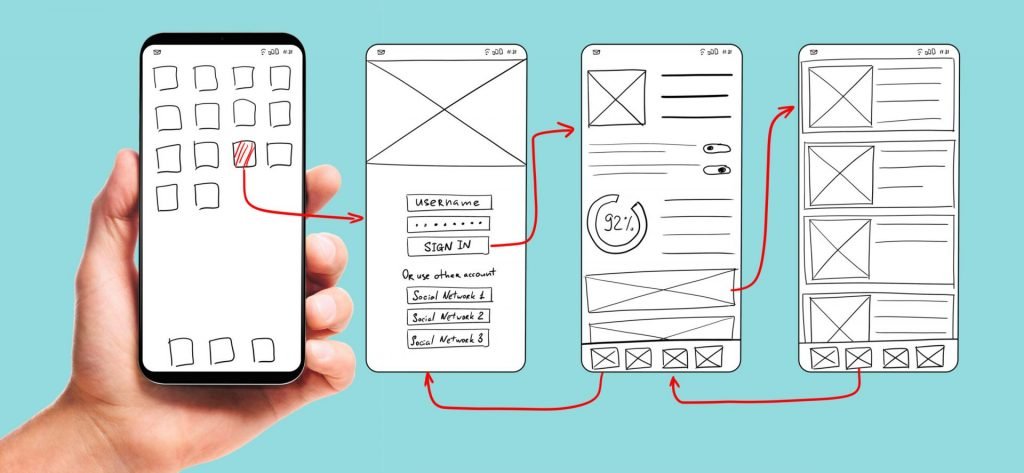
Low-fidelity prototypes are basic, often hand-drawn representations of a design concept. They focus on functionality and user flow rather than visual details. These prototypes are quick to create and easy to modify, making them ideal for early stages of the design process.
Key Characteristics:
Simplicity: Minimal details, often black and white.
Speed: Quick to create and iterate.
Focus: Emphasis on structure and layout over aesthetics.
Tools: Paper sketches, whiteboards, basic digital tools like Balsamiq.
When to Use Low-Fidelity Prototypes
Low-fidelity prototypes are best used during the initial stages of the design process. Here are some scenarios where they shine:
Brainstorming and Ideation:
Quickly visualize and share concepts with your team.
Encourage creativity and open-ended discussion.
Early User Feedback:
Test basic user flows and interactions.
Identify major usability issues without getting bogged down by design details.
Iterative Design:
Rapidly iterate on ideas and make changes on the fly.
Save time and resources by avoiding detailed design work early on.
What Are High-Fidelity Prototypes?

High-fidelity prototypes are detailed, interactive representations of the final product. They closely mimic the look, feel, and functionality of the end design. These prototypes are more time-consuming to create but provide a realistic user experience.
Key Characteristics:
Detail: Full-color, high-resolution designs with real content.
Interactivity: Functional elements like buttons, forms, and transitions.
Accuracy: Closely resembles the final product in terms of design and functionality.
Tools: Advanced prototyping tools like Figma, Sketch, Adobe XD.
When to Use High-Fidelity Prototypes
High-fidelity prototypes are ideal for later stages of the design process when you need to refine and validate your design in detail. Here are some scenarios where they are most effective:
User Testing:
Conduct detailed usability tests to gather specific feedback on design and functionality.
Identify subtle issues that may not be apparent in low-fidelity prototypes.
Stakeholder Presentations:
Present polished, professional designs to clients and stakeholders.
Demonstrate the full user experience and gain buy-in from decision-makers.
Developer Handoff:
Provide developers with detailed specifications and interactive elements.
Ensure a smooth transition from design to development with clear design intent.
Comparing Low-Fidelity and High-Fidelity Prototypes
Here's a quick comparison of the key differences between low-fidelity and high-fidelity prototypes:
| Aspect | Low-Fidelity Prototypes | High-Fidelity Prototypes |
| Detail Level | Basic, minimal details | Detailed, high-resolution |
| Creation Time | Quick and easy | Time-consuming |
| Interactivity | Limited, non-interactive | Fully interactive |
| Purpose | Early-stage ideation and feedback | Detailed user testing and stakeholder buy-in |
| Tools | Paper, whiteboards, basic digital tools | Advanced prototyping software |
Conclusion
Choosing the right type of prototype depends on your stage in the design process and your specific needs. Low-fidelity prototypes are perfect for brainstorming, early feedback, and rapid iteration, while high-fidelity prototypes are essential for detailed testing, stakeholder presentations, and developer handoff. By understanding the strengths and best uses of each, you can optimize your design workflow and create better user experiences.
